Retexturing Is the Half of the Job People Underestimate
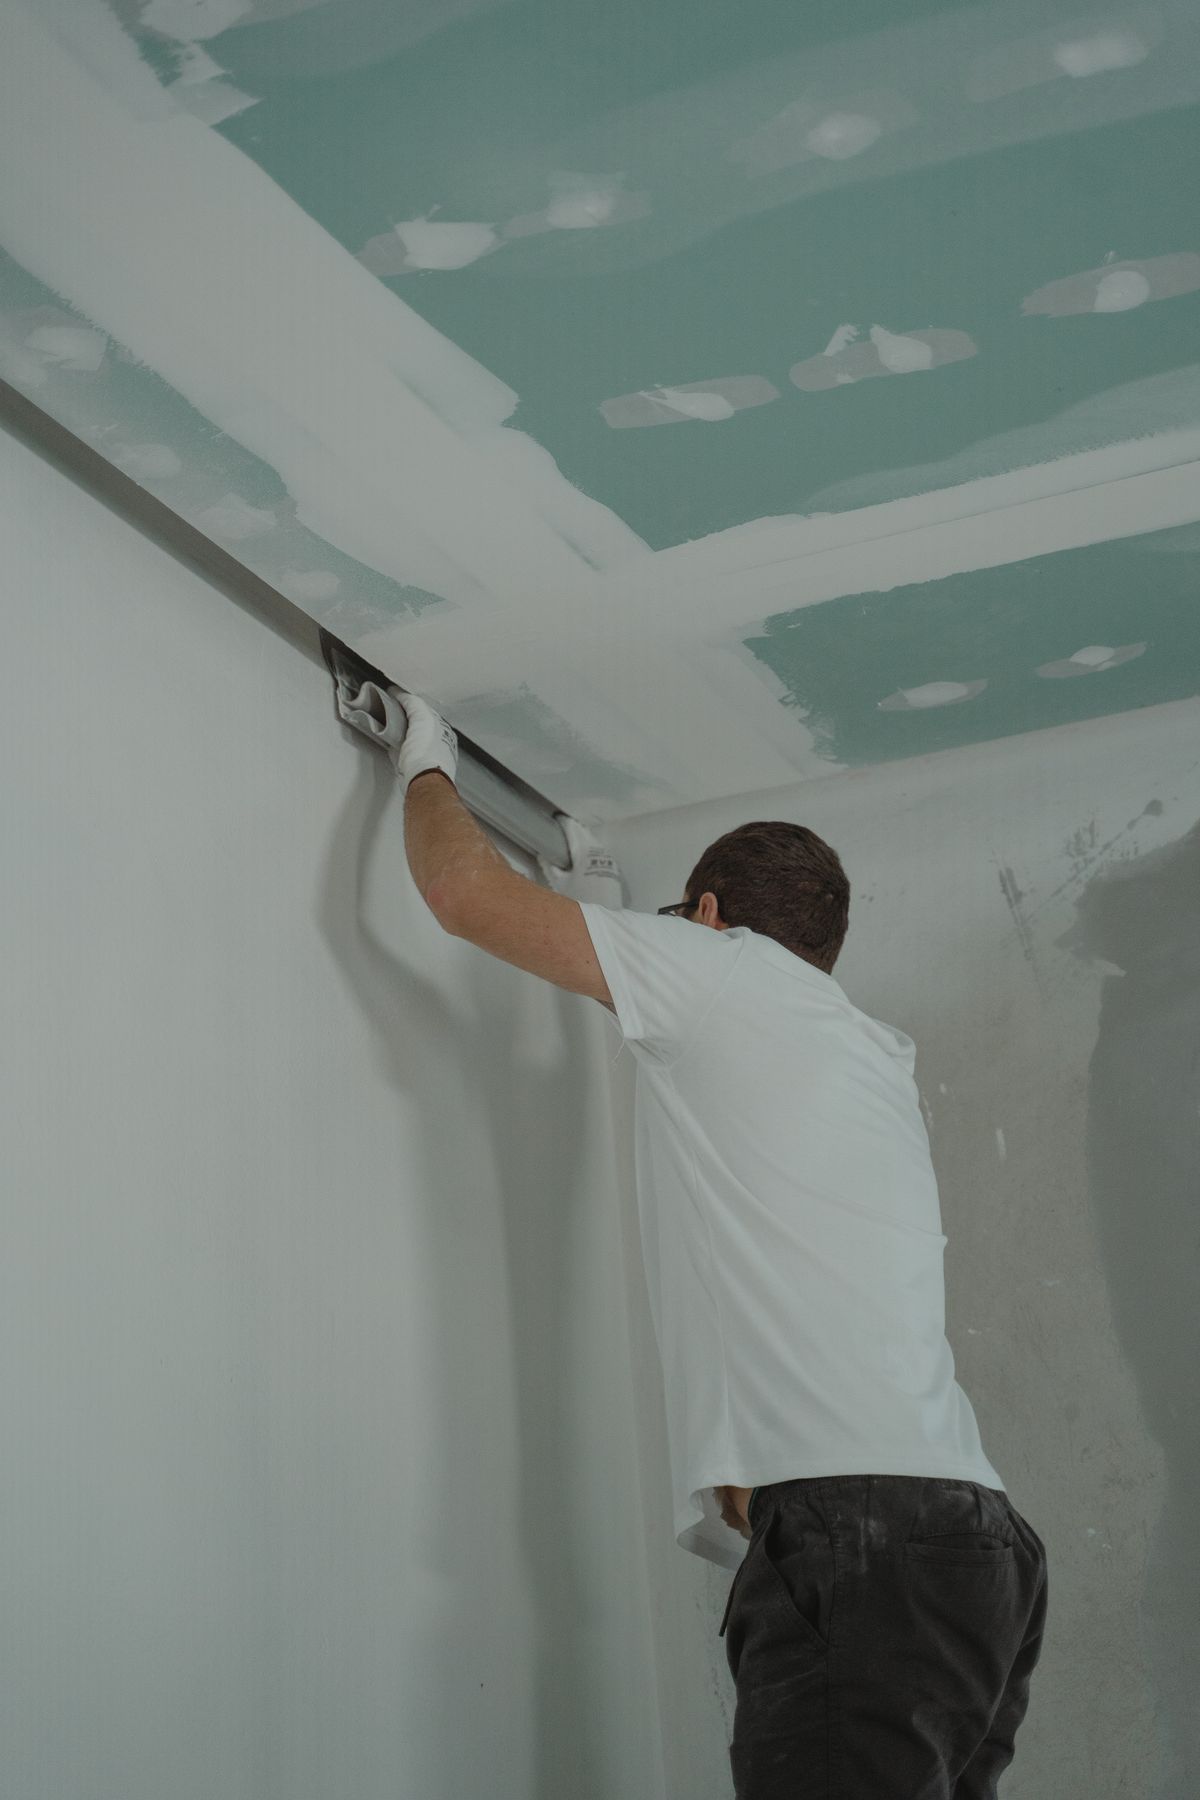
Scraping popcorn off is demolition; retexturing is craftsmanship. Once the old acoustic layer is gone, what remains is raw drywall showing every joint, screw dimple, and forty-year-old taping shortcut the popcorn was sprayed on to hide. Builders of the 1960s through the 1980s counted on thick texture as camouflage — which means quad-cities ceilings almost always need genuine surface preparation before any new finish can go on. That prep is a skim coat: joint compound troweled across the entire ceiling, feathered flat, and sanded once cured.
Retexturing also stands alone as its own project. Plenty of Prescott-area homeowners call about a ceiling that is already popcorn-free but tired — a patchwork of old repairs, a 1990s texture that feels dated, or a water-damaged area where the drywall repair is done but the surface no longer matches. Refinishing over sound drywall skips demolition entirely and transforms the room for less.
Your Three Finish Options, Compared
| Finish | The look | Best for | Relative cost |
|---|---|---|---|
| Smooth (level 5) | Dead-flat, gallery-clean, contemporary | Historic restorations, custom remodels, anywhere light rakes across the ceiling | Highest — multiple skim coats, careful sanding |
| Knockdown | Sprayed splatter lightly troweled into soft, mottled plates | Most 1980s-and-newer quad-cities homes; hides minor imperfections gracefully | Moderate |
| Orange peel | Fine, even stipple like citrus skin | Matching existing wall texture; rentals and quick refreshes | Most economical |
Why Smooth Is Having a Moment in Prescott
High-elevation sunshine is unforgiving and beautiful at once: it pours through south-facing windows at a low winter angle and slides straight across your ceiling. On heavy texture that raking light throws speckled shadows; on a properly skimmed smooth ceiling it simply glows. That is why smooth finishes dominate remodels in Prescott's older neighborhoods — where they also happen to be historically appropriate, since pre-war homes originally had flat plaster ceilings — and why real estate photos of smooth-ceiling listings read as newer, brighter, and more expensive.
The honest trade-off is labor. A true level-5 surface takes two to three full skim passes with sanding between, and there is no faking it — every wave shows in afternoon light. Knockdown and orange peel deliver most of the freshness at a friendlier price, which keeps them the sensible pick for big square footage.
How a Retexturing Project Runs
Surface assessment
Existing texture, paint layers, cracks, and any staining get evaluated. Pre-1990s textured ceilings that will be disturbed are lab-tested first, same as removal jobs.
Protection and prep
Floors and walls are masked, fixtures dropped or wrapped. Glossy or painted surfaces are scuffed and primed so fresh compound bonds permanently instead of peeling in a year.
Skim coat and repairs
Compound fills joints, dents, and old fastener pops, then a full skim pass levels the field. Prescott's dry air is the finisher's friend here — coats cure fast, even in winter with the heat running.
Texture application
Smooth ceilings get sanded and inspected under raking light. Knockdown and orange peel are sprayed to the pattern weight you approved, with sample boards matched beforehand if you are blending into existing rooms.
Prime and finish
New compound drinks paint unevenly unless sealed, so priming is not optional. Most homeowners add ceiling painting in the same visit and walk back into a completely finished room.
Matching Texture So Repairs Disappear
One note for owners of older stock: if the surface being refinished still wears its original sprayed texture and the home predates about 1989, that material is treated as suspect and lab-tested before sanding or scraping begins — retexturing projects follow the same test-first rule as removals, because disturbance is disturbance.
The hardest trick in this trade is not applying texture — it is matching one. A patched ceiling where the new knockdown sits heavier than the old, or an orange peel that reads finer than the surrounding field, catches your eye forever. Getting invisibility takes the right compound viscosity, nozzle, air pressure, and troweling timing, tuned by eye against the existing surface. If you have a repair that a previous handyman "textured to match" and it still shouts at you from across the room, a proper blend-and-refinish is a small project with a big payoff.
Retexturing Questions, Answered
Can new texture go straight over the popcorn?
Not well. Spraying knockdown over popcorn just gives you lumpy knockdown, and skim-coating over heavy acoustic texture takes so much compound that removal is usually cleaner and cheaper. The exception is positive-testing texture that must not be disturbed — there, a new drywall layer beneath the old ceiling creates a fresh surface to finish. Why testing decides this.
Should the ceiling match my wall texture?
It does not have to. Plenty of quad-cities homes pair orange-peel walls with a smooth or knockdown ceiling, and the contrast reads as intentional and current. Matching matters most inside a single surface — a patched area must blend into its own ceiling — not between walls and overhead.
How long does retexturing take per room?
Spray finishes over a single skim coat usually run one to two days per room including drying, which our dry air accelerates. Level-5 smooth adds a day or so for the extra passes and sanding. Multi-room projects overlap stages, so whole homes finish faster than a per-room count suggests.
What Retexturing Costs
As part of a popcorn removal project, skim coating and new texture are usually bundled into the overall square-foot price. As a standalone service over sound existing drywall, expect roughly $1–$2.50 per square foot for spray textures and more for full level-5 smooth work, depending on prep. Every quote is free, itemized, and honest about which finish level your rooms actually need — call to talk it through.
Pick Your Finish, See a Price
Smooth, knockdown, or orange peel — free quotes for ceiling retexturing across the Prescott quad-cities.